The Power Cycle: Stay-At-Home Routine Day 10
Day 10 of a 28-day power-training cycle for the climber looking for strength at home.
Day 10
For Day 10 we are back on the hangboard and our isometric exercises. It is important to note that our fingers, depending on when each of us completed the hangboard exercises on Day 8, have only rested for 24-48 hours as opposed to a more ideal 48-72 hours. As such, approach fingerboard with caution, today, and if you begin to feel twinges of pain, save the hangboarding for another day.
When completing our isometric exercises today, try hard and focus on stability. Ideally, a partner will time each of your repetitions so that you may try your absolute hardest on each repetition, without having to fend off distractions. Tomorrow we will begin weighted pull-ups as we begin to turn our strength into power.
Warm Up:
- Warming up will likely differ between people, but these are a few good warm ups.
- Shoulder rolls
- Rotations: hold arms out perpendicular to the length of your body. Your arms should be parallel to the floor. Begin by rotating your wrists clockwise while your arms are straight. Then increase the rotation from the shoulders, maintain g your straight arms. Steadily increase the radius of rotation until your arms are wind milling, then reverse the direction.
- Hang on a bar and retract and relax your shoulders
- Complete a number of pull ups that would warm you up but not tire you out
Hangboard:
These hangboard exercises listed below are simple and easy to follow. The training is still exceptionally difficult, and that thought should remain present at all times. When pulling onto a board, you should constantly consider the safety of your fingers.
Step 1:
Pick an edge. You will use this edge for the entire month. It should be something you can hold for 7-10 seconds. If you can hold it for 16 seconds or more, it is possible that you will need to add weight or decrease the edge size. If possible, retain the edge size, and add a small amount of weight.
Step 2:
Know the hand positions.
- Open-hand is defined by a straightened pointer finger, a 90 degree bend in the middle two, and a relatively straight pinky finger.
- Half-crimp is defined by the pointer, middle and ring fingers bent to 90 degrees, with a semi-straight pinky finger
- Full-crimp: we will not train.
- Watch Dave MacLeod’s video on hangboarding for alternative hand-positions for more advanced climbers and general tips and tricks
Step 3:
Warm up the fingers.
- Warm up your fingers by hanging on progressively smaller holds for increasing amounts of time.
- Pull on various edge sizes while retaining contact with the ground. This is known as the “French Traverse”.
- After your fingers are warm, a process which should take at least as long as it takes to warm your fingers up on easy climbs in the gym (10-30 minutes), begin training.
Step 4:
Training
- For those doing two handed hangs:
- 3 sets of four-finger open-hand for 7-10 seconds
- 6 sets of four-finger half-crimp for 7-10 seconds
- Rest for 2-5 minutes between each hang.
- For those completing one handed hangs:
- Place on hand on edge, on hand on a static rope to the side of the edge
- Hang on the edge with one hand, and pull on the rope to counterbalance the weight that your edge-hanging hand cannot sustain.
- Hold the rope as low as possible and aim to lower that hand between sessions so that you can increase the weight on the engaged hand.
- Complete 9 sets of 7-10 second hangs on a large edge (15mm-35mm) on both sides.
- If you fall part way through the hang, move your hand higher up the rope so to ensure that you complete the set on the set.
Agonist muscles:
Once your biceps and shoulders are fully warm, or so warm that you could pull as hard as you would want, begin offset pull-ups.
Lock-Offs:
Once your offsets are complete, rest for five-minutes and begin your lock-offs.
Try and hold a lock-off with one arm bent at 90-degrees. If this is too challenging, complete the exercise in a full lock-off on one arm. If this is too difficult, complete ten negatives.
- Negatives: Hold a full lock-off with two arms at the top of the bar. Let one arm go and try and resist gravity with the other arm. You will either hold the lock-off or slowly descend to a straight arm position. The goal of a negative is to increase the time it takes to descend.
- Complete ten one-arm negatives on each side
- Lock Offs:
- If you are able to complete the lock-off, then…
- Aim to hold lock for 10 seconds. 3 sets a side.
Rest for ten minutes, warm into pull ups, then move into offsets.
Offset pull ups:
Offsets are designed to help you build one-arm power. Though we completed a few of these over the course of our conditioning period, we will adjust them for maximum output. For Day 10, hang a rope from your pull-up bar. Place your hand as low as you can on that rope. Either knot it or tape the rope so that you know your maximum offset distance between days.
- Complete 4 sets of 3 repetitions on each arm
- Rest for two to five minutes between each set, even between arms
- Be careful of your wrists during this period.
- If you are already capable of completing a one-arm pull up, then strive to complete between 6 and 10 one-arm pull ups, a side, separated by two-minutes rest.
- Rest for two to five minutes between each set, even between arms
Core:
Front Levers:
To complete this exercise, hang from a bar and strive to pull into a front-lever-like position. A front lever is primarily defined by straight arms, a straight body, and the plane of that body as parallel to the floor. Remaining parallel to the floor is the most difficult part of the lever, so to train it we will pull into as “high” a lever as we are capable, and then we will hold it as hard as we can.
- Ideally, another person will hold the timer for you so that you can close your eyes and try super-hard. With an exercises like this, trying hard is essential.
- If you are unable to come anywhere close to maintain a lever, strive to do this exercise with a leg retracted
- Complete 6 front levers at 10 seconds a lever.
- Rest 3 minutes between each lever
Antagonist Muscles:
Push-ups: High Intensity
Complete 5, 7, or 10 repetitions depending on your skill level per exercise on Day 10. Once that is established…
Complete the following exercises three times in a row for a total of nine sets. Your total push-up count for the day will be either 45, 63, or 90 repetitions.
- elbows-back push-ups: complete 5-10 then rest 30 seconds
- diamond push-ups: complete 5-10 then rest 30 seconds
- archer push-ups: complete 5-10 then rest 30 seconds
Flexibility:
Day 10: Hold each stretch for 15-30 seconds:
- Straddle Splits: This stretch is important to climbing as it increases a climber’s lateral flexibility for moves like stemming in a corner.
- Hamstring: keep your legs straight and bend down to your feet. Keep your back flat for an alternate version of this stretch.
- Hip-flexor: Flexible hip-flexors allow a climber to high-step.
- Quadricep: preventative against injury
- Triceps stretch: preventative against injury
- Shoulder stretch: increases mobility
- Calf stretch: increased heel-hooking mobility
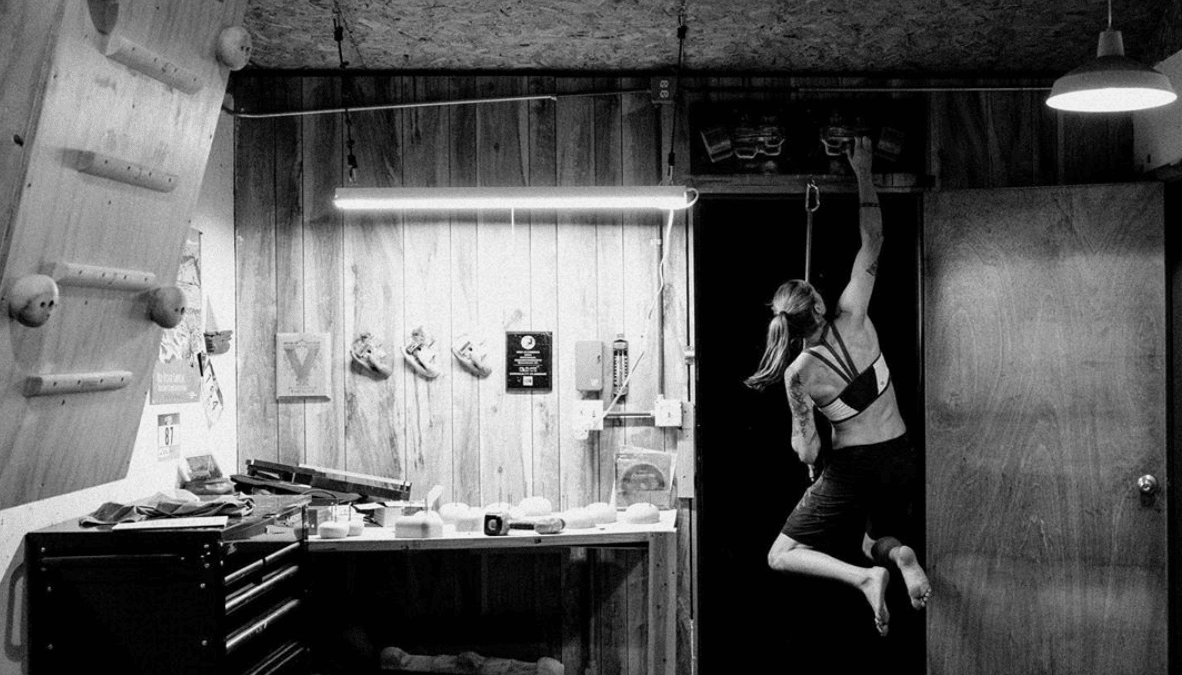
Featured photo by Emily Maye of Alex Johnson.
Check out the latest buyer's guide: