Help Prevent Heel Hook Injuries With These Exercises
Leg bridges build strength and stability in your hamstrings for stronger, safer heel hooking
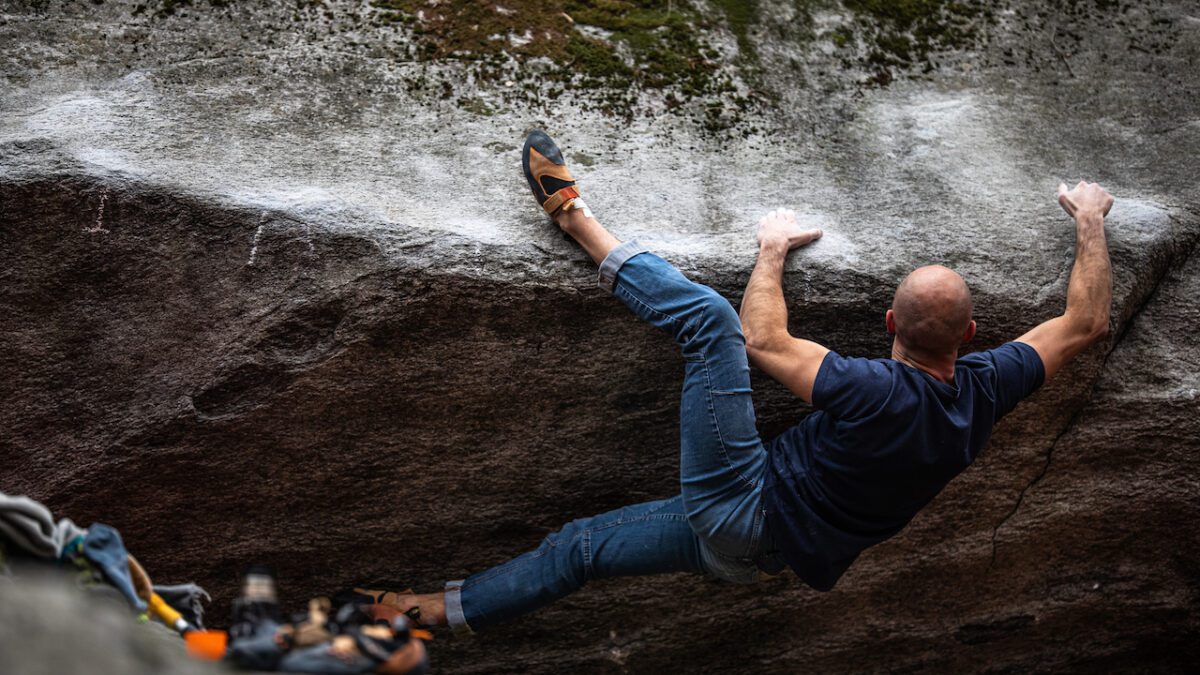
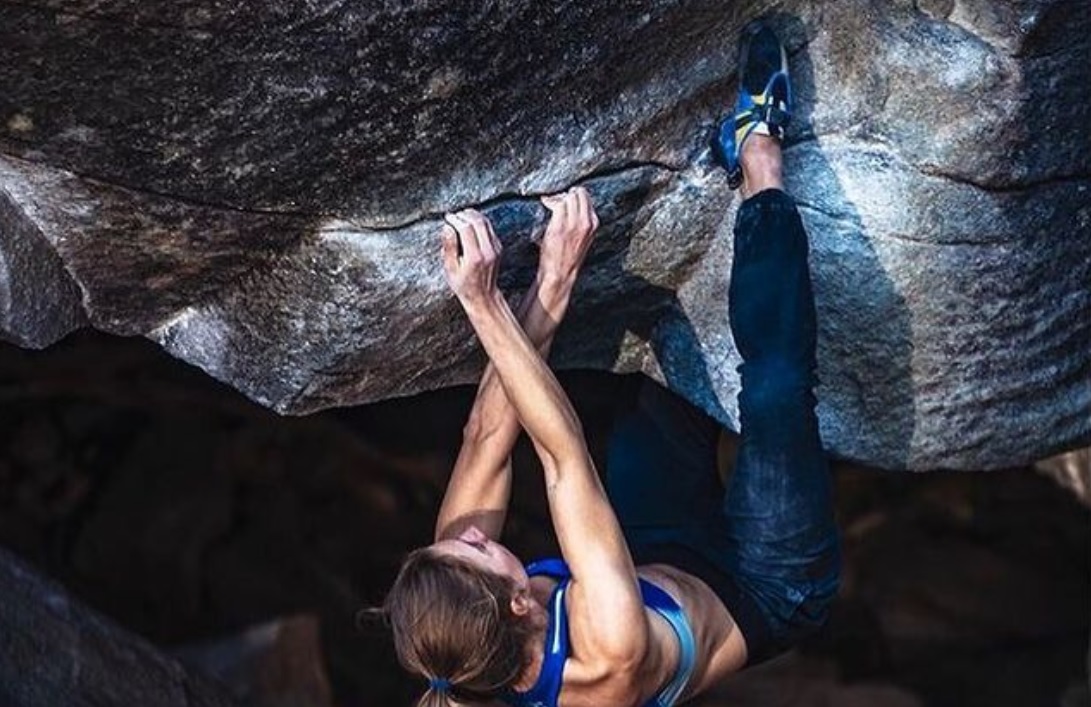
Heel hooks put a lot of stress on the hamstring muscles and structures of the knee including the LCL and PCL. Many climbers have experienced the feeling of a terrible pop followed by a sharp pain in the back of the thigh when performing extra powerful or awkward heel hooks.
These far-too-common hamstring strains or tears are often the result of inadequate strength and stability in the hamstring muscles.
An excellent introductory exercise for preventing these types of heel hook injuries is the leg bridge (also known as the glute bridge). Leg bridges build strength and stability in the hamstring and hip-to-knee chain, and they’re easily modifiable, making them useful for warm-ups, leg strength work-outs, and injury rehab.
Form
Here’s a simple demonstration of a single-leg bridge:
To start a single-leg bridge, lie flat on your back on the ground. Bend your left leg at a 45 degree angle from thigh to calve. Stick your right leg out straight, in line with your left leg. To begin the exercise, push through your left heel and upper back to raise up your hips. The end position is when your knees, hips, and shoulders form a straight line. Engage the core, glutes, and hamstrings throughout this movement. Hold this end position for a desired length while not letting your hips sag, and then lower back down to the starting position in a controlled manner, continuing to have engagement in the core, glutes, and hamstrings. Perform a desired number of reps and then do the whole exercise again, this time using your right leg.
Leg bridges are often trained using a series of short-hold repetitions. For example, 3 sets of 10 reps per leg with a 2-second hold at the top of each bridge. They can also be trained using longer isometric holds. For example, 3 sets of 3 reps per leg with a 10-second hold at the top of each bridge. It’s a good idea to train both of these types of strength.
Progressions
Leg bridges have progressions for different levels of difficulty, from beginner to advanced. The easiest form is performed with two legs, a variation that is likely too easy for most climbers (unless perhaps they are rehabbing an injury). The next progression is single-leg bridges, as seen in the video above. If you can easily perform multiple sets of these with good form, start experimenting with the following progression options:
Elevated Bridges
To make your bridges more difficult, increase the steepness of your body angle by starting with your heels on an elevated platform such a sturdy box or chair. Perform your bridges as you would on flat ground, experimenting through double-leg and single-leg bridges. You could also put your heels through gymnast rings or a TRX system for additional stability training. Work both on multiple short repetitions and longer isometric holds.
Dr. Brendan Donohue has a great series of videos demonstrating these progressions:
Different Angles
Some heel hooks are scrunchy and close to the hip, requiring a deep bend in the knee. Others are far away from the body, necessitating a nearly straight leg. The angle in which you begin the leg bridge will drastically change the feel of the exercise and mimic this real-world climbing variety. Experiment with different starting angles between thigh and calve (45 degrees, 90 degrees, 120 degrees). Work on the ones that are particularly weak.
Added Weight
To increase the difficulty of all of the above mentioned variations, you can add weight. Simply hold a dumbbell or weight plates on top of your hips. Add weight over time as you progress.
Heel Placement
All variations thus far have been using the back of the heel as the contact point on the ground or elevated platform. In climbing, our heel hook placements are often not in this exact downward angle. For example, for proper placement and technique, the heel hook will often be placed on the outside portion of the heel. Hip flexibility limits and wide squeezing positions often results in the inner portion of the heel being used.
You can perform single-leg bridge isometric holds on the outside and inside edges of your heels. To do this with proper form, you must ensure you twist your hips and body in the direction of the twisted heel. Otherwise, you’ll be putting undue strain on your knee.
If you are using the inside edge of your left heel, for example, twist your left hip upwards, with more weight being placed on your right upper shoulder blade. If you are using the outside edge of your left heel, twist your right hip upwards, with more weight being placed on your left upper shoulder blade. Really engage both sides of your hamstrings.
Training Program
Add leg bridges into your training program once or twice a week. They’re also a great exercise to add to your warm-up routine. Do easier variations in your warm-up and harder variations on your leg strength training days.
After warming up with a couple sets of 10 reps of easy variations, execute 3 sets of 7–10 reps at your chosen progression level for each leg. Rest 3 to 5 minutes between sets. Take a 15 minute break and then perform 3 sets of 10-second isometric holds at your chosen level for each leg. Again, rest 3 to 5 minutes between sets.
If you find the leg bridges too easy in your final reps of your third sets, consider increasing the difficultly in your next session.
Check out the latest buyer's guide: