New Year’s Training: Hangboard Week 1
This routine is built around increasing your finger strength safely and quickly through volume

From a training perspective, this year has been your god-send, your plateau, or the reason you fell out of love with climbing.
Whatever it might have been, you are surely looking to return to the gym, or the crag, and you are staring down the barrel of an overcast winter that is a heck of a lot less inspiring than the sunny days of summer.
Hopefully we will be back to gym climbing more quickly than the last lockdown, but, as cases spiral, it is unclear whether or not that will be the case. In the meantime, let us turn away from our windows and begin considering the vaccinated future that awaits us in these coming months.
If you have been with us since our first Stay-At-Home training, then you are probably aware of the large-scale conditioning and medium-scale finger boarding regimens that we went through in an effort to become strong. These workouts were difficult, but working out is difficult, and, if we are going to be locked down anyway, we may as well spend our time building.
The greatest weakness of the summer’s workouts was in the presumption that every climber is the same. This is not really the case. Though every climber needs some of the same basic strengths, there are no silver bullets to hard climbing except for maybe finger and grip strength. Obviously, not everyone has the same workout gear, which is why, this time around, we are going to divide and conquer.
There will be two workouts for two climbers: the Fingerboard focused climber and the home wall focused climber.
If you only have access to only a fingerboard, we are going to focus on strengthening our climbing muscles and only our climbing muscles, excepting the inevitability of push-ups for antagonist muscle training).
If you have access to a fingerboard and a home board, we are going to focus on the home board. For Home Wall training click HERE.
In both cases we will be training climbing specific exercises and we will provide a skeleton, on which you can hang your own training ideas. A training plan is elastic. It is encouraged that you modify the below plan to make for a plan that you want to complete. If the workout isn’t any fun, then you will not want to do it.
With all of this said: let’s begin.
Week 1:
The Fingerboard:
Form:
Do not swing on the fingerboard. Pull your shoulders back and remain fixed on the board. A swing creates a range of motion while your fingers are under immense stress. It is for this reason that swing is to be avoided.
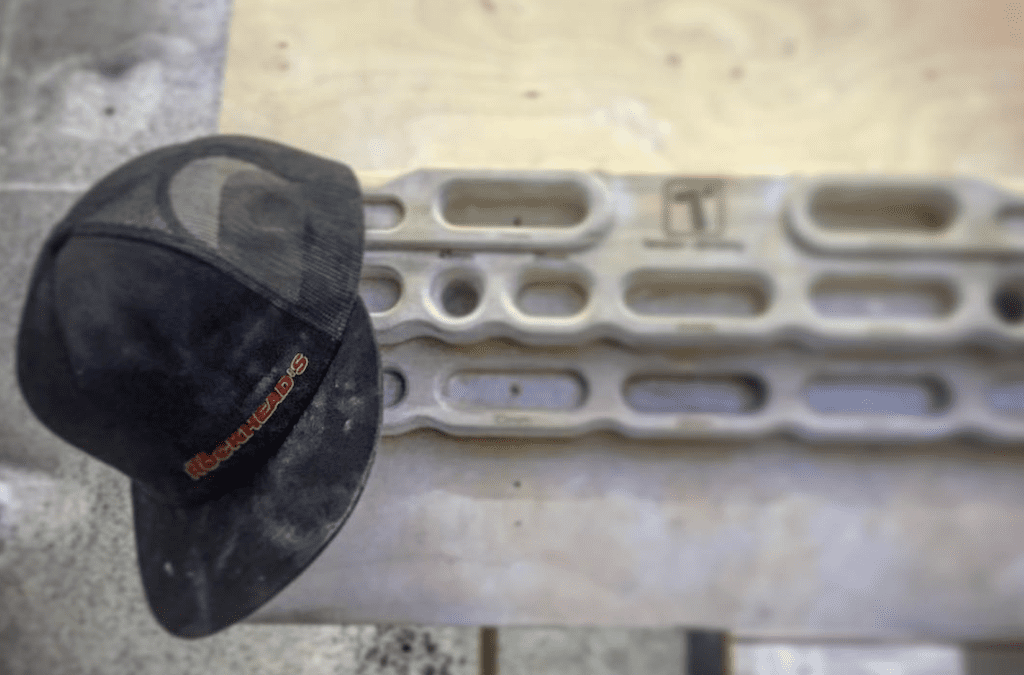
Begin with an edge that you can hang from for 10 seconds with perfect form. You should not be able to hold it for more than 16 seconds. If you are able to hold it with perfect form for more than 16 seconds, move down to a smaller edge size or increase weight incrementally.
Once you have found your edge, warm up on larger edges. You will then complete 3-6-9’s. This will be done in 3 sets.
3 sets of the openhand position
- 3 second hang: follow with 10 – 90 second rest
- 6 second hang: follow with 10 – 90 second rest
- 9 second hang: follow with 10 – 90 second rest
3 sets of the half-crimp position
- 3 second hang: follow with 10 – 90 second rest
- 6 second hang: follow with 10 – 90 second rest
- 9 second hang: follow with 10 – 90 second rest
3 sets of the three-finger open-hand position. This last position will probably feel the most difficult. Do not worry. This is normal. Most people do not climb in this position. If you need to use a larger edge for this hang, that is acceptable.
- 3 second hang: follow with 10 – 90 second rest
- 6 second hang: follow with 10 – 90 second rest
- 9 second hang: follow with 10 – 90 second rest

Physical Exercise:
Front Lever:
- 6 sets of 10 seconds
This exercise is executed by assuming the lever position as best as you can. This means that you might sag underneath a perfect front lever. That is okay. The important part is spending the time to try and maintain the perfectly straight position at whichever angle you are able to replicate. Others might suggest holding one leg in and trying to hold the front lever position. This is not effective.
The issue with this method is that it trains the climber to become good at an exercise that is not the front lever. It will strengthen your shoulders and your lumbar, but it will provide significantly slower progression. The goal of this exercise is not to complete a front lever but to strengthen the muscles the front lever activates. Remember, we are training, not trying to find an easy way to hang from a bar. If you find yourself miles below a proper front lever, that is okay! It takes time to replicate a perfect lever.
Every time you attempt it, you are not failing. Instead, you are becoming stronger. The weaker at the lever you are, the greater the amount of strength you will earn, per day.
Push ups:
This is for the antagonist muscle training. It keeps your elbows safe.
- 100 elbows-back, military-style, push ups. This style isolates the triceps.
Stretch:
It cannot be overstated how useful flexibility is. The more flexible you are, the less strength is required to move your feet up. To that effect, greater flexibility gives the climber a wider range of foothold options. As such there are a few areas that you should stretch specifically, and this is definitely a non-exhaustive list.
Hamstrings
- Hand to toe-hook matches
- Heel hooks
- Drop knees
Hip flexors
- High steps
- Drop knees
- Heel hooks
Middle splits
- Getting your hips into the wall.
- Middle splits are very useful. Flexible hip flexors are equally important.
You will retain the additional, non-finger-specific training on your other training days.
Schedule:
Day 1: Train
Day 2: Rest
Day 3: Train
Day 4: Rest
Day 5: Train
Day 6: Rest
Day 7: Rest
On Day 5, you will move up from 3 sets per grip position to 4 sets per grip position.
4 sets of the openhand position
- 3 second hang: follow with 10 – 90 second rest
- 6 second hang: follow with 10 – 90 second rest
- 9 second hang: follow with 10 – 90 second rest
4 sets of the half-crimp position
- 3 second hang: follow with 10 – 90 second rest
- 6 second hang: follow with 10 – 90 second rest
- 9 second hang: follow with 10 – 90 second rest
4 sets of the three-finger open-hand position.
- 3 second hang: follow with 10 – 90 second rest
- 6 second hang: follow with 10 – 90 second rest
- 9 second hang: follow with 10 – 90 second rest
Featured Image by Sean Gilmore.


