Five Calisthenics Exercises for Climbing Training
How calisthenics training can improve your body tension and athleticism on the wall
Calisthenics training is a form of full-body movement that is generally restricted to a body’s weight. Unlike weight training, calisthenics exercise concerns itself more with athleticism than power, a form of fitness that cares more for full-body engagement than a maximum weight.
Training calisthenics in climbing has benefits and is frequently adopted by some of the best in the business. For professional climbers, certain calisthenics gains transmit directly to the wall. Climbers frequently look to gymnastics in this regard, utilizing some of the most famous calisthenics exercises from rings to levers.
Below, we discuss five calisthenics exercises that might greatly benefit your climbing.
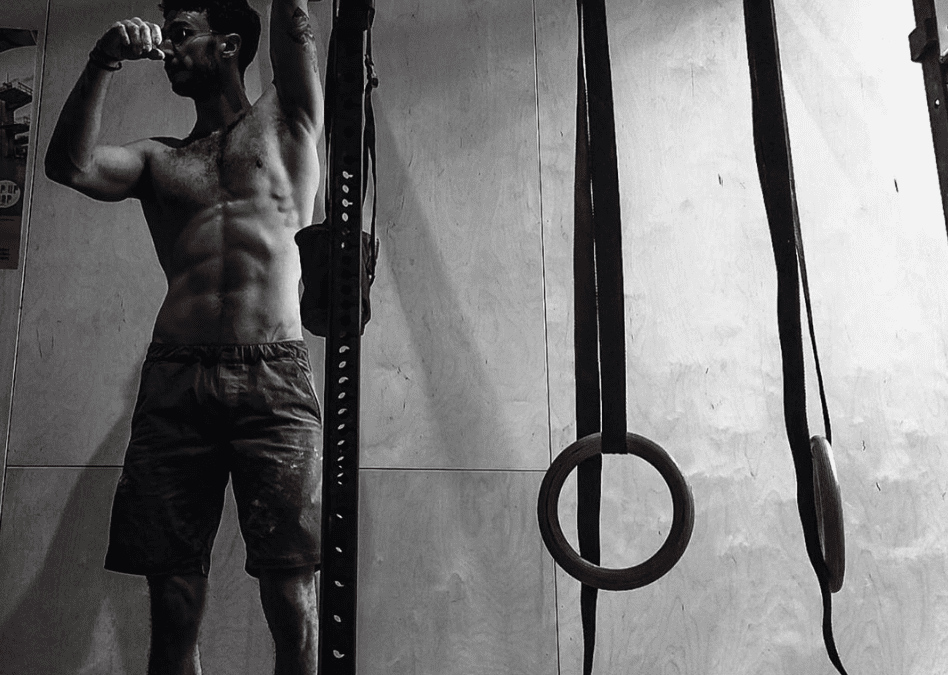
One-arm Lock-off
The lock-off translates directly to climbing. Whether you boulder, lead, trad, or big wall, locking off provides a level of mobility and security that can’t be replicated by other movement. The greatest reason for this is that a true lock-off ensures that your body is strong enough to support itself with a single arm. This allows for much more advanced movement in all disciplines of climbing.
The ideal lock-off is that which engages your arm at a 90-degree angle. This lock-off is the most difficult to maintain of the available angles. By holding 90-degrees, the climber is training to hold lock-offs at all angles. Train at 90-degrees by completing three max-time lock-offs in a session. The goal should be to complete three repetitions a side with three-to-five minutes of rest between each repetition. The goal is to lock-off for 10 seconds per repetition. Once you are able to complete the exercise within its predefined parameters, consider adding weight or completing a different exercise.
If this exercise is too challenging at first, don’t worry. For almost all climbers, this exercise is nearly impossible at first. Simply hold a complete lock-off, where your hand is by your collar and your elbow produces an acute angle. Upon failure, slowly lower yourself to the ground. This is called a negative and is a fundamental exercise for people learning how to do pull-ups. This is much the same here. So long as you can complete a lock-off at 90-degrees for at least two seconds, you should be able to train the 90-degree through daily attempts. Don’t be surprised if it takes over a month to gain this strength.
The Rings
The full-body tension derived from the rings is also exceptionally helpful to climbing. On the rings there are three exercises that provide quickly accessible benefits: Roll-outs, compression flies, and split flies.
Though these exercises surely have a million names, perhaps these definitions will lend evidence as to why the rings are useful. First, each of these exercises require the individual to lower the rings to a height a few centimetres above the ground. Secondly, that individual must assume push up position with their palms pressing into the rings.
- The Roll-out: To “roll-out” the athlete will hold the start position, allowing for slightly bent elbows and straight wrists, before letting their arms glide out in front of them. After reaching a maximum extension, they pull in with their core and return to the start position. The crux of the exercise is the returning of the rings to the start position. This exercise engages the core, chest and shoulders. Complete 10 repetitions before resting 30 seconds.
- Compression Flies: After your rest, assume the start position you used previously for roll-outs. This time, instead of letting your arms glide out in front, allow your arms to glide out to the sides before returning them to the start position. The challenge of this exercise is found primarily in the chest as your body tries to bring the rings back to the centre. Complete 10 repetitions before resting 30 seconds.
- Split Flies: The final exercise requires the athlete to assume the same start position as the previous two exercises. This time, allow your right arm to glide at a 45-degree angle ahead and to the right. Simultaneously, allow your left hand to glide towards your feet, and towards the left at a 45-degree angle. Pull in once you have reached your limit, and then alternate sides. Lead with your left hand angled 45-degrees towards the left and the right approaching your feet at 45-degrees to the right. The crux of this exercise is in the shoulder stabilization. Complete 10 times, five a side, before resting 30 seconds. Then complete all three exercises twice more.
Though this exercise is unquestionably difficult, it can be made easier by simply walking forward and decreasing the angle between your body and a vertical, standing position.
The Front Lever
This exercise is another advanced calisthenics exercise that can provide massive gains in terms of shoulder stability and core tension. The front lever allows the climber to move with high mobility in an overhang due to the strength of their abdominals. It also means that their shoulders are strong enough to handle a great number of the high-tension moves one might expect from roof climbing.
To train front lever, there are two main exercises. Either replicate the front lever with pulsing attempts, defined by the climber rotating about their shoulders so that their body is parallel to the ground before returning to the start position, or hold the front lever at a reduced angle, feet close to the floor. The latter is the better of the two exercises, but both have worked for individuals training the exercise. If pulsing, complete three sets of five repetitions. If holding, complete five repetitions, holding for 10 seconds on each rep and resting two minutes between each rep. This exercise will take time to complete with perfect form. Don’t be discouraged, the goal is to strengthen your core and shoulder stability for climbing, not to complete a front lever.
Muscle-ups
This is far from a conventional climbing exercise, but you will notice that it is fundamental to many of the strongest climbers in world. The reason for this is due to the manner in which climbers train for muscle ups. Depending on what you are trying to strengthen, there are two ways to muscle-up. The first is the classic example. Pull hard into a press, then press it out. The second is defined by a hard pull that brings you well over the bar by the time you need to press. Depending on what you are trying to do, each exercise has its benefits. The benefit of the latter is that it focuses on climbing specific movement, namely pulling hard in an upward direction. It utilizes more than the biceps, incorporating the climber’s lats as well.
To train the muscle-up, regardless of the form that you are hoping to replicate, begin by strengthening your body so that 10 pull-ups are easy to accomplish without kipping. Then begin to see how far past the bar you are able to pull. Then give yourself a false grip, and see how far you are able to pull. Once you believe that it is the push that is holding you back instead of the pull, complete dips on that bar. Once ten dips, without kipping, become easy to complete, you are strong enough to complete the exercise. Focus on the movement of your hips, and try to carry your centre of gravity over the bar leading with your hips. Once you complete the muscle-up, work on smoothing out your technique.
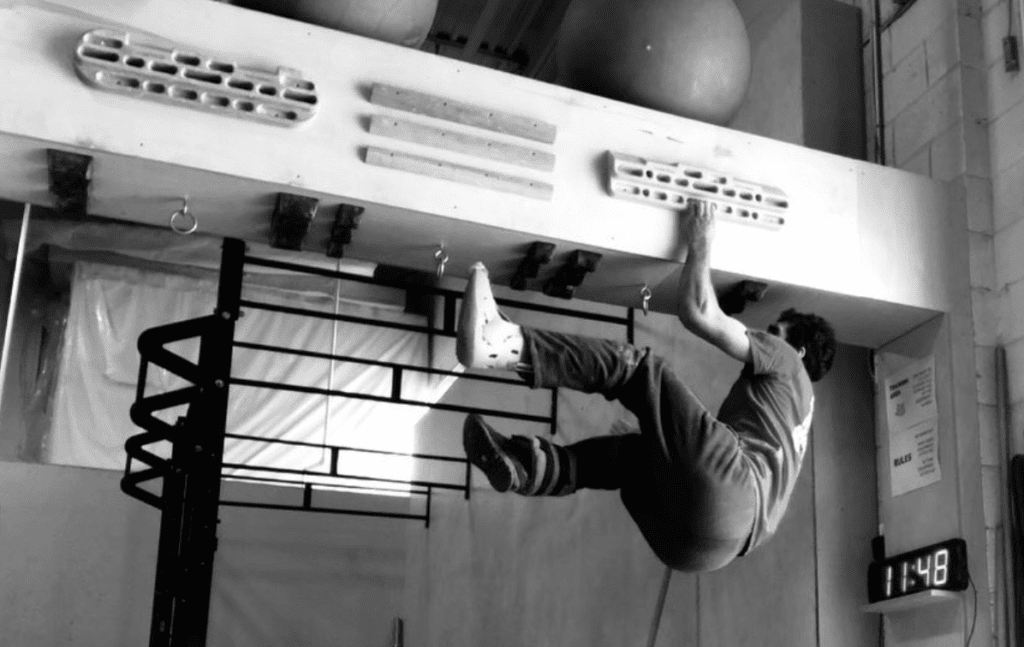
One-arm pull-ups
There are perhaps quite a few reasons as to why this exercise is not all that helpful for climbing. It is definitely possible to climb exceptionally hard without being able to execute a one-arm, and it is also possible to not climb hard even if you can complete a one-arm. For these reasons, it is included last, despite the benefits it does yield. It is undeniable that some climbs are made easier by an athlete’s ability to pull through a cruxy sequence. The benefit of one-arm pull ups is that the pull-through-strength of the shoulder is targeted and strengthened as this exercise becomes easier to complete. This movement is trained through exercises like the off-set pull-up, where one arm is higher than another.
This exercise is best trained on the campus board, off-set rings, or on a bar with a bit of cord hanging beneath the bar. Unlike the one-arm pull-up, off-set pull-ups are invaluable to climbing. Frequently, climbing hard is defined by edges spaced far apart up a vertical wall, similar to a campus board. The off-set pull-up targets this movement by facilitating the growth of shoulder strength required to hit a hold and pull through to the next, while pushing with the lower hand.
This is similar to a one-arm pull-up, simply requiring less of the climber’s power. Complete three sets of three off-set pull-ups, with one hand higher than another. Be sure to complete three a side. Complete this exercise twice a week, paying attention to a slow release of the pull-up. A slow release will help prevent injury to the elbow. As time progresses, and you strengthen, try to lower the bottom hand, increasing the angle of the pulling arm. Focus on form instead of struggling your way to the top of the one-arm. By doing so you will be made stronger more quickly with a reduced risk of injury.
Featured photo by Sean Peeters @sp.climbs.
Check out the latest buyer's guide: